

Automotive window tint installation is as much about repeatable process and shop discipline as it is about hand skills. The following tips focus on practical ways installers can improve efficiency, consistency, and film performance.
1. Start With Consistent Vehicle and Shop Preparation
A predictable workflow begins before any film leaves the box. Standardizing how you set up the vehicle and your work area helps reduce rework and contamination.
- Park the car away from direct wind sources when possible
- Close doors, windows, and bays that blow dust toward the vehicle
- Use clean, dedicated sprayers for slip solution and for pure water
- Keep a clear path around the vehicle to avoid brushing against film
Interior and Glass Prep
Proper cleaning is one of the biggest variables in long-term adhesion and appearance.
- Vacuum carpets and door panels around work areas to reduce airborne lint
- Wipe door panels and dash with a damp microfiber to capture dust
- Use a non-ammonia glass cleaner or a film-safe slip solution
- Razor-scrape side glass and back glass (where safe) to remove bonded contaminants
- Pay attention to edges, sweeps, and felt seals where debris hides
A consistent two-step cleaning routine (scrub, then final rinse and squeegee) helps ensure any remaining particles are visible before you lay film.
2. Choose and Mix Your Slip Solution Intentionally
Your slip solution affects how fast you can position the film and how well it locks down.
- Start with clean, filtered water when possible
- Use a consistent soap type and measure it (for example, pumps or milliliters per liter)
- Adjust concentration for film type and environment (more slip in hot conditions, less in cold or very smooth glass)
Document your go-to ratios for different films (dyed, carbon, ceramic) and seasonal temperatures so your team can reproduce results across installers and bays.
3. Patterning and Cutting for Accuracy and Speed
Accurate patterns reduce trimming time inside the vehicle and minimize the risk of cutting seals or glass.
Hand-Cutting Best Practices
- Use new, sharp blades often; dull blades tear film and leave jagged edges
- Cut with steady, even pressure instead of multiple passes
- Follow factory dot matrix and glass edges consistently as your reference points
- Leave a small, repeatable light gap (rather than inconsistent, overly tight cuts)
Leveraging Plotters and Software
For shops using a plotter:
- Keep your blade depth set to cut film and liner without scoring the backing paper
- Maintain a library of favorite patterns for vehicles you see regularly
- Note any patterns that need manual adjustments (e.g., extended top edges, tighter corners)
Coordinating digital patterns with a clear hand-trimming strategy helps installers move efficiently between different vehicle models.
4. Managing Contamination and Edge Quality
Dust, hair, and fibers are some of the most common reasons for re-doing a window.
Shop and Tool Hygiene
- Use dedicated, lint-free microfiber towels for glass and for bodywork (keep them separate)
- Store film rolls in closed boxes or cabinets away from cutting debris
- Clean squeegee blades, hard cards, and scrub pads regularly
Working on the Glass
- Mist the glass lightly right before laying the film to capture airborne dust
- Avoid touching the adhesive with bare fingers; use tabs or tape pulls
- Lift and flush small contaminants with slip solution rather than dragging them under the film
Developing a habit of inspecting each window backlit (from inside or outside, depending on shop layout) before final edge sealing can catch many issues while the film is still easy to adjust.
5. Effective Heat-Shrinking Techniques
Heat-shrinking is essential for back glass and some curved side windows. A controlled method reduces the risk of creasing and burning.
Choosing a Method
- Dry shrink with shrink sheets or copy paper on the exterior is common for many films
- Wet shrink can be useful for certain films or very complex curves (based on manufacturer guidance)
Core Heat-Shrinking Tips
- Use an even, sweeping motion with the heat gun instead of concentrating in one spot
- Work in defined zones (top, bottom, then center) to avoid chasing fingers across the whole window
- Watch the film surface: small, controlled movements of fingers are more manageable than large ones
Keep notes on how your preferred films respond to heat: some ceramics and thicker constructions need more patience and lower, consistent heat.
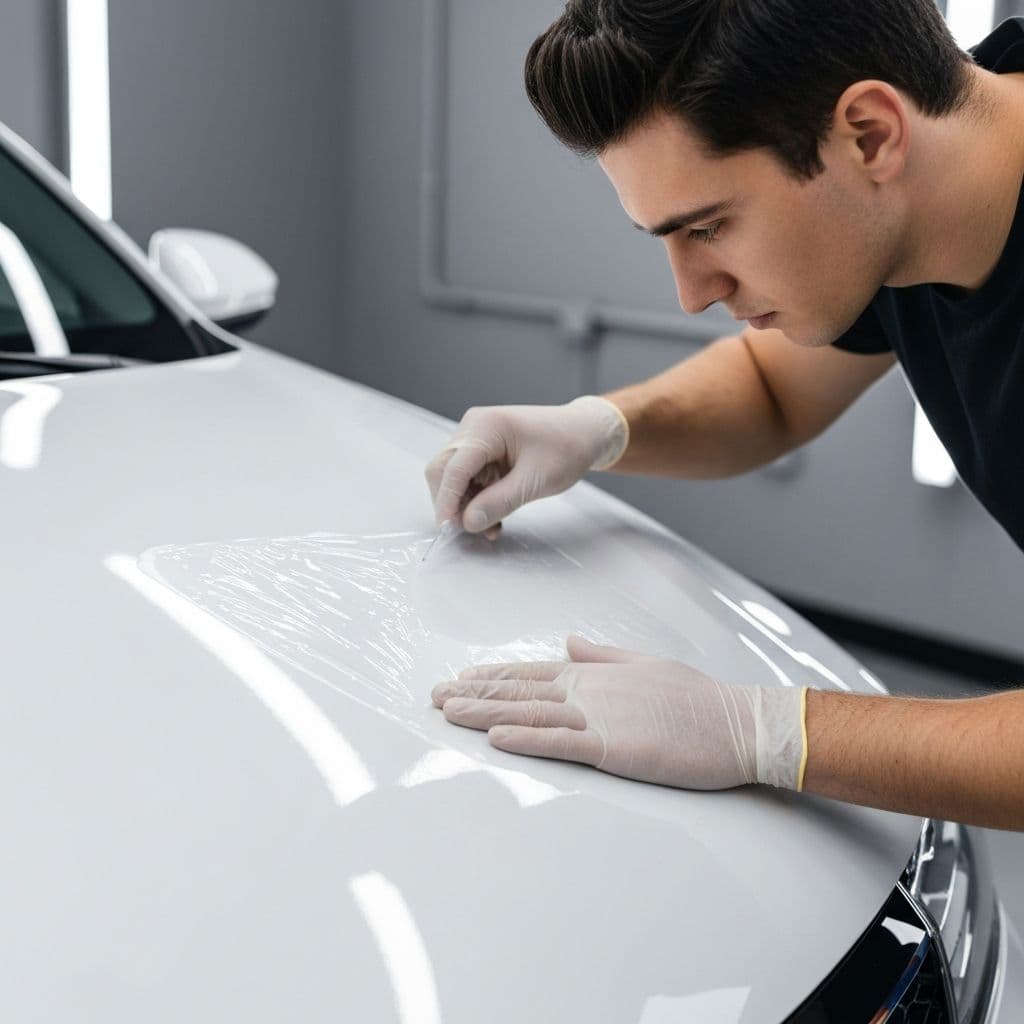
6. Installation Workflow Inside the Vehicle
Once your pattern is ready and shrunk, a smooth in-vehicle workflow avoids adhesive contamination and creases.
Loading and Positioning the Film
- Double-check that the interior glass is freshly squeegeed and free of streaks or debris
- Peel the liner in a controlled area to minimize dust exposure
- Wet both the glass and adhesive side to allow easy sliding
- Float the film into place using anchor points (e.g., top edge alignment) before fine-tuning
Squeegeeing for Adhesion
- Use firm, overlapping strokes from the center out toward edges
- Finish with a harder squeegee or card wrapped in a low-friction sleeve for edges
- Pay attention to corners and around third brake lights on back glass
An organized stroke pattern (center to top, center to bottom, then side sweeps) makes it easier to identify missed areas and reduces trapped moisture.
7. Dealing With Dot Matrix and Challenging Areas
Dot matrix bands, tight gaskets, and complex trims often affect the finished look.
- Understand how each film line you use behaves over dot matrix (some appear more silver or hazy)
- Where allowed by manufacturer guidance, consider edge filing or light scuffing to improve anchoring on heavy dots
- Use a dedicated tool for tucking film into tight seals rather than improvising with sharp objects
Document any recurring trouble spots on specific vehicle models so your team knows what to expect.
8. Environmental and Curing Considerations
Ambient conditions influence slip, cure times, and potential for moisture-related callbacks.
- In colder conditions, allow extra time for the film to set before moving windows
- In high heat, work in smaller sections and adjust slip solution to avoid premature tack
- Use fans or controlled airflow to help cure moisture without introducing excess dust
Providing realistic cure-time expectations to customers reduces unnecessary warranty visits and reinforces your professionalism.
9. Communication and Aftercare Instructions
Clear aftercare guidance supports fewer issues and strengthens installer–customer relationships.
- Explain realistic cure times (often several days before complete clarity)
- Advise against rolling down windows until the film has had adequate time to set
- Recommend film-safe glass cleaners and non-abrasive towels
- Clarify what is and isn’t covered by your installation and film warranties
Putting this information on a simple printed or digital handout ensures consistent messaging from every installer in your shop.
10. Continuous Improvement and Team Training
Installation quality and efficiency improve when teams share techniques and track outcomes.
- Conduct occasional in-shop training sessions to review new tools or films
- Keep a log of installation challenges and how they were solved
- Ask distributors or manufacturers about technical bulletins, training videos, or in-person clinics
A structured approach to learning—paired with the practical tips above—helps shops develop installers who can handle a wide range of vehicles and film constructions with consistent, predictable results.