PPF Installation Craft: The Full Process from Prep to Cure
A step-by-step breakdown of professional PPF installation: paint decontamination, slip solution chemistry, squeegee technique, edge tucking, heat activation, and the 72-hour cure window — with a buyer's checklist for evaluating installer quality.
Published · 13 min read
Product
Explore Our Products
Factory-direct PPF, color PPF, and tint options for distributors building big-brand alternative programs.
A perfectly installed PPF is nearly invisible — the paint looks richer, the reflections stay sharp, and the film protects for years without peeling or yellowing. A poorly installed PPF tells a different story: lifted edges within weeks, moisture trapped under film corners, and silvering across stretched zones. The difference between those two outcomes is not the brand name on the roll. It is installation craft.
This guide walks through every stage of professional PPF installation — from paint decontamination through final cure — and explains why each step matters, what can go wrong, and how to evaluate quality before you hand over your car.
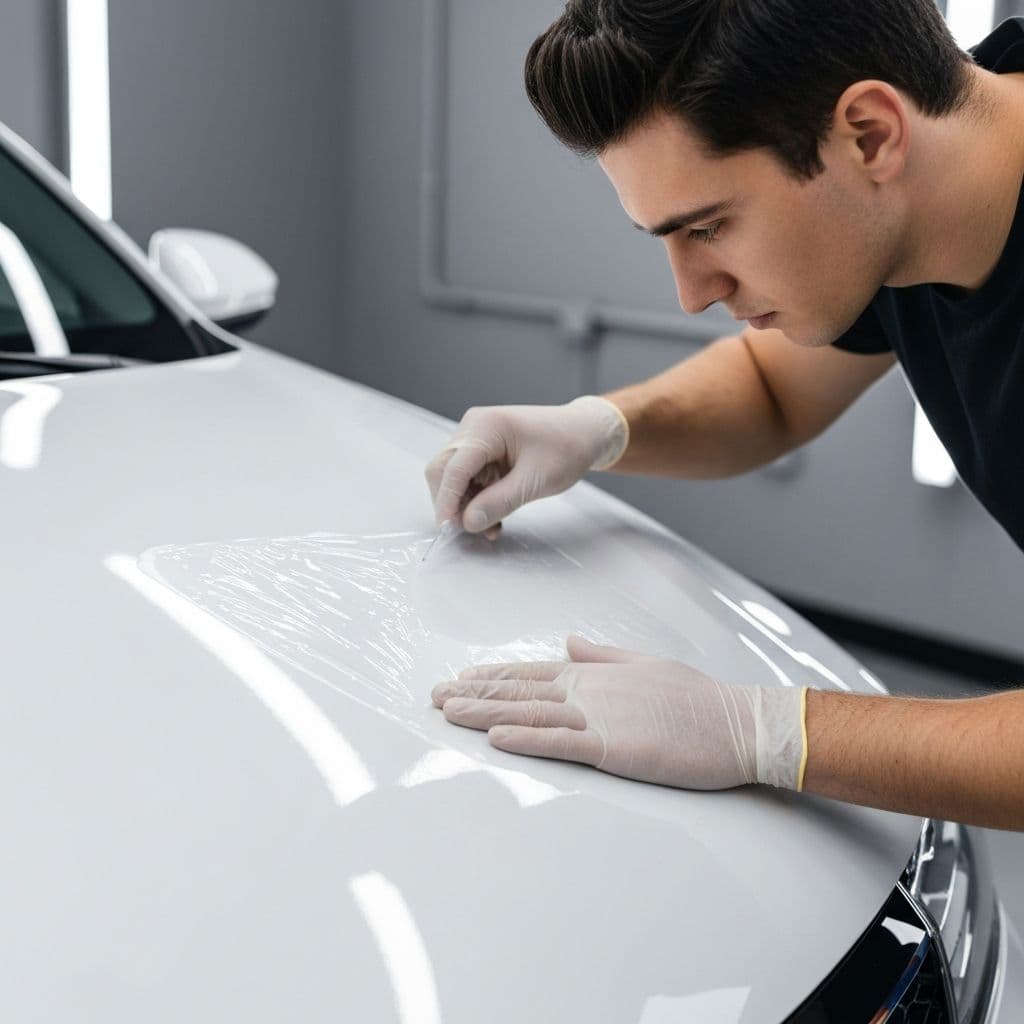
Professional PPF installer applying transparent paint protection film to a white luxury car hood
Why Installation Craft Is the Deciding Factor
The polyurethane film itself is remarkably consistent at the premium tier. XPEL Ultimate Plus, SunTek Ultra, and LLumar Platinum all use 8-mil thermoplastic polyurethane with self-healing top coats. Their optical clarity differences under controlled conditions are measurable but small.
What makes the installed result look dramatically different shop to shop is the installer's command of:
Surface preparation — contaminant removal is the foundation everything else rests on
Slip solution chemistry — the water-soap-alcohol balance affects repositionability and adhesive activation timing
Squeegee technique — pressure, angle, and stroke direction determine whether micro-bubbles and channels clear completely
Heat management — too little heat fails to stretch; too much scorches the top coat or activates adhesive prematurely
Edge tucking — hidden wrap versus exposed edge is the most visible quality indicator at close inspection
Cure discipline — disrupting the film in the first 48-72 hours causes most preventable long-term failures
A shop with five years of full-car wraps and a trained eye for stretch patterns will produce a noticeably better result than a shop with the same film and six months of experience. Brand selection matters at the margins. Installer selection matters fundamentally.
Stage 1: Paint Decontamination and Surface Preparation
Technician cleaning car paint surface with isopropyl alcohol and microfiber cloth before PPF installation
bonds to the clear coat with a pressure-sensitive acrylic adhesive. Any contamination between the adhesive and the clear coat — iron particles, water spots, wax residue, silicone, tree sap residue — becomes a permanent inclusion. You will see it every time you look at the panel in sunlight.
The Decontamination Sequence
Foam wash — thick foam dwell time lifts loose dirt, bird droppings, and road film without contact scratching
Iron fallout remover — chemical decontamination spray dissolves ferrous particles embedded in the clear coat that a wash alone will not remove; the solution turns purple as it reacts
Clay bar or clay mitt — mechanical decontamination removes bonded industrial fallout, tar, and silicone residue the chemical step left behind
Paint correction (if required) — any swirl marks, light scratches, or water etch spots are permanently sealed under the film; correction now avoids regret later
Panel wipe-down with isopropyl alcohol — removes all polish oils, wax, and detailing spray residue; this is the final step before film contact
Skipping or rushing decontamination is the single most common cause of visible contamination under PPF. A professional shop will not skip this. If a shop moves from wash to film application in under an hour on a daily driver, something in the prep sequence is missing.
Environment Requirements
PPF adhesive responds to ambient temperature and humidity. Most manufacturers recommend installation between 15°C and 25°C with relative humidity below 60%. Dust is the other variable: positive-pressure clean rooms are the standard at high-end shops; at minimum, the bay should be separated from the shop floor and swept before work begins.
Stage 2: Film Cutting and Pattern Preparation
Premium shops use computer-cut patterns from software like DAP or Xpel's proprietary DAP suite. These databases contain pre-mapped panel templates for thousands of vehicle makes and models, cutting the film to exact panel geometry before it touches the car.
Computer-Cut vs. Bulk-Roll Cutting
Computer-cut (DAP/plotter) — precise panel shapes, minimal waste, consistent edge placement; this is the industry standard for full-vehicle and panel work on modern platforms
Bulk-roll hand-cutting on the vehicle — still practiced for custom shapes, large flat sections, and older vehicles not in the database; requires significantly more skill and time
Bulk-roll hand-cutting off the vehicle — used for simple shapes like door-cup protectors and door-edge guards; faster than on-car cutting but less precise on compound curves
The cutting method affects the visible seam locations and whether edges are tucked or exposed. Ask the shop which method they use for your specific vehicle and panels before booking.
Stage 3: Film Application and Slip Solution
The installer wets both the adhesive side of the film and the paint surface with a slip solution — typically a dilute mixture of isopropyl alcohol, baby shampoo, and water. The exact ratio is installer-specific, but the purpose is consistent: the water layer allows the film to slide into precise position before the adhesive activates.
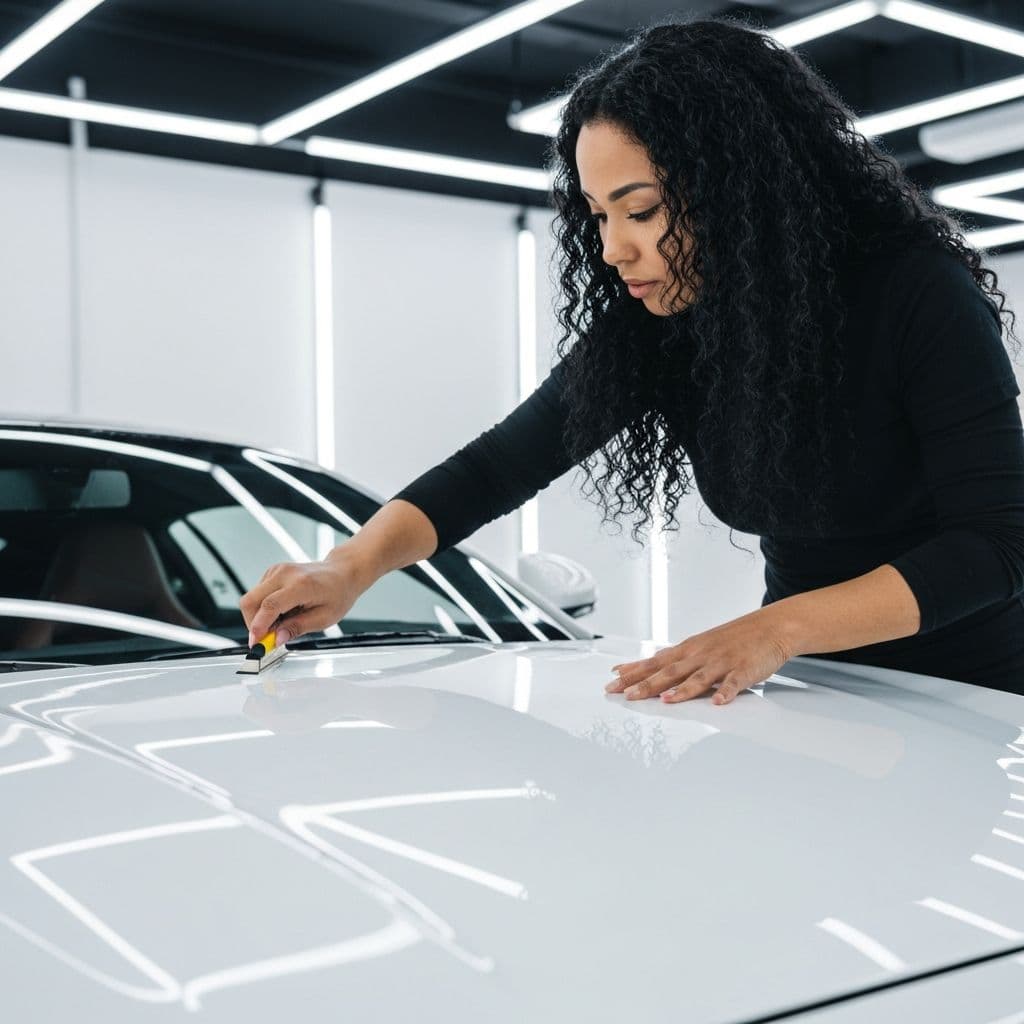
Positioning and Squeegee Work
Once positioned, the installer uses a soft squeegee to push the slip solution out from the center toward the edges, progressively activating the adhesive. The technique here is where skilled hands show:
Direction — always squeegee from the highest point of a panel down and outward, following the panel's natural drainage direction
Pressure — firm enough to close channels and eliminate solution pockets, never so hard as to stretch the film laterally or create tension lines
Speed — slower strokes on compound curves; faster on large flat sections
Overlap — each stroke should overlap the previous by 50% to avoid skipped channels
Final inspection pass — done under a side-angle LED light to catch any remaining micro-bubbles or lifting at seam edges
Small remaining water bubbles within 24-48 hours of installation are normal — the water migrates through the semi-permeable adhesive as the bond cures. Persistent bubbles after 72 hours, or any air bubbles visible immediately after install, are quality issues that warrant a redo.
Stage 4: Edge Finishing — The Mark of Serious Craft
PPF installer using a heat gun and tucking tool to wrap paint protection film around a sharp car door edge
Edge finishing is where PPF installations visibly separate into tiers of quality. There are two approaches, and the gap between them is immediately apparent to anyone who looks closely at the door openings, hood perimeter, or bumper edge of an installed vehicle.
Exposed Edge (Standard)
The film terminates at the panel edge with a cut line that is visible as a thin seam when you open the door or hood. This is faster, acceptable on most vehicles, and is the default on many budget and mid-range installations. The cut edge should be:
Clean and straight, without fraying or lifting
Seated fully with no gap between the adhesive and paint
Consistent in offset distance from the physical edge across the full panel
Tucked Edge (Premium)
The film wraps around the physical edge of the panel and adheres to the inner door jamb or underside surface. From the outside of the vehicle, there is no visible seam at all. This requires:
A heat gun to soften the film, increasing elasticity for the wrap-around pull
A tuck tool (or soft finger) to seat the adhesive behind the edge without leaving tool marks
Careful tension management to avoid white-stress marks (silvering) at the bend
Correct activation of adhesive at the tuck zone — dry adhesive on the inner surface will not hold long-term
Tucked edges last significantly longer than exposed edges in real-world conditions because they eliminate the lift-initiation point. For doors, hood, and trunk lid, tucked edges are the professional standard on a quality installation.
A-Pillar and Roof Treatment
The A-pillar and roof transitions are among the most technically demanding areas on any vehicle. The compound curves, the tight radius at the windshield edge, and the temptation to stretch rather than form the film all combine to produce the most common visible failures on sub-standard installs. An experienced installer will:
Pre-stretch the film with a heat gun before application to relieve internal tension
Work in sections on complex curves rather than attempting single-piece coverage
Post-heat the installed section to set the adhesive and eliminate residual stress
Stage 5: Heat Activation and Post-Cure
Heat plays two distinct roles in PPF installation. During application, a heat gun (or infrared lamp) softens the film for stretch and compound-curve conformability. After application, heat accelerates adhesive activation and cure.
Post-Application Heat Treatment
After all panels are installed, a professional installer does a final heat pass across the entire vehicle — typically using a 1600W professional heat gun held at consistent distance. This:
Activates remaining slip solution migration toward the edges
Seats adhesive into any micro-texture of the clear coat
Sets edge tucks permanently
Initiates self-healing of any installation-induced micro-scratches on the top coat
The 72-Hour Cure Window
The adhesive reaches approximately 80% of its final bond strength within 24 hours at room temperature. Full cure takes 72 hours. During this window:
No car wash — water penetrating under unsealed edges before full adhesive set can cause lifting
No rain exposure — same reason; if unavoidable, park indoors
No wax or sealant application — these products can prevent the adhesive edge from completing its bond to the paint
Avoid extreme cold — adhesive cure slows significantly below 10°C; a cold overnight immediately after install is the worst case
Small water bubbles are normal — they will disappear as moisture migrates; do not attempt to press them out manually
Stage 6: Final Inspection
A professional shop conducts a final inspection before the car is returned. What to look for — and what to ask to see:
All edges flat with no lifting — run your fingernail lightly along every seam line
No contamination bubbles — inspect under side-angle lighting, especially on dark paint
No silvering or stress whitening — look at stretched zones like A-pillars, bumper corners, and mirror bases
Consistent gloss — compare the PPF'd panels to unprotected surfaces; any matting or haze indicates installation damage to the top coat
Seam alignment — on full-hood or full-bumper installs, panel joints should be straight and offset-consistent
Self-healing demo — a quality shop will demonstrate self-healing on an installed panel: a light fingernail scratch disappears within 60 seconds under warm light
Do this inspection in sunlight or under a full-spectrum shop light, not in a dim garage. If the shop does not support a pre-delivery inspection or rushes you out, that is a quality signal.
Common Installation Failures and Their Causes
Lifting edges within weeks — caused by insufficient decontamination (wax or silicone residue), exposed edge installed on a rough-terrain vehicle, or sub-standard adhesive activation
Contamination bubbles — caused by skipped clay bar or panel wipe, airborne dust in an open bay, or dirty slip solution
Silvering / stress whitening — caused by over-stretching without adequate heat, particularly at A-pillars, bumper corners, and mirror cutouts
Orange peel amplification — caused by installing over an already high-orange-peel clear coat without correction, or by applying the film at the wrong temperature causing adhesive to bridge surface texture
Seam peeling at door edges — most often a cure-phase failure: car washed within 24 hours or exposed to rain before the adhesive fully set
Yellow discoloration at edges — caused by installing over heavily contaminated paint (iron, industrial fallout); the contamination reacts with the adhesive over time
Hazing at squeegee lines — caused by excessive squeegee pressure damaging the top coat; more common on second-tier films with softer top coats
How to Evaluate an Installer Before Booking
The questions below will separate craft-focused shops from volume shops. Ask them directly:
What is your decontamination process before application?
Do you use computer-cut patterns or hand-cut on the car?
Do you tuck edges or use exposed-edge termination?
What slip solution do you use and what is your curing process?
Can I see examples of your work on similar vehicles — ideally in person?
What is your policy if I find a contamination bubble or edge lift within the first 30 days?
How long have your primary installers been doing PPF specifically (not window tint)?
Is your bay dust-controlled and temperature-managed?
A shop that can answer all of these specifically and confidently is almost certainly investing in installation quality. A shop that deflects to brand names and warranty brochures is telling you something different about their priorities.
FAQ
How long does a professional PPF installation take?
A partial install (hood, fenders, mirrors, bumper) typically takes 6-10 hours on a standard vehicle with a single installer. A full vehicle wrap can take 2-4 full days depending on complexity, crew size, and whether any paint correction is performed beforehand. Shops that complete a full wrap in under 8 hours are almost certainly skipping steps.
Can PPF be installed over paint protection wax or sealant?
No. Wax, paint sealant, and ceramic coating residue must be fully removed before PPF application. The adhesive cannot bond through these products, and any residue will eventually cause lifting. A proper IPA panel wipe is the minimum; paint correction or a chemical stripping step may be needed on heavily treated vehicles.
What is the difference between tucked and exposed edges?
An exposed edge terminates at the panel boundary with a visible cut seam — you can see it when the door is open. A tucked edge wraps the film behind the physical panel edge so no seam is visible from the outside. Tucked edges take more time, require heat and skill, and are significantly more durable. They are the standard at quality shops.
Why does my PPF have small bubbles after installation?
Small water bubbles in the first 24-72 hours are normal and expected. The slip solution water migrates through the adhesive and evaporates as the bond cures. If bubbles persist beyond 72 hours, or if they appear as air (not water) immediately after installation, they indicate a quality issue and the shop should address them under warranty.
How soon can I wash my car after PPF installation?
Most manufacturers and installers recommend waiting at least 48-72 hours before any water exposure. A touchless (no-contact) wash is preferred for the first two weeks. Avoid high-pressure jets directly at edges for the first month. Hand washing with pH-neutral soap is safe after the initial cure period.
Does PPF self-heal installation scratches from the squeegee?
Minor top-coat abrasion from the squeegee during installation will typically self-heal within minutes when exposed to warm temperatures. A final heat pass by the installer should initiate this process before the car is returned. Deeper marks from a hard squeegee or a gritty application environment do not self-heal — they are permanent quality defects.
Can PPF be removed and reinstalled?
PPF can be removed, but it cannot be reinstalled. Once the adhesive bond is broken during removal, the film loses adhesive integrity and must be discarded. Professional removal uses heat to soften the adhesive and slow, even pulling to avoid paint lift. Adhesive residue is then removed with IPA or a dedicated adhesive remover. On most modern clear coats with no pre-existing damage, PPF removal leaves the paint in its original condition.
References
External references for this article. Links carry rel="nofollow" in line with Google's editorial-citation guidance.