Tesla Defects, Panel Gaps and Paint Issues
Tesla buyers are often highly detail-oriented. Many new owners search for terms such as tesla defect, tesla paint defect, tesla panels, tesla panel gaps, tesla delivery checklist paint and tesla paint inspection because they want to understand what is normal, what should be documented, and what should be corrected before adding paint protection film.
This guide is not about blaming Tesla or any specific vehicle brand. Every mass-produced vehicle can have delivery issues, transport marks, surface contamination or minor alignment concerns. The practical question is simpler:
Should the issue be fixed before PPF, protected with PPF, or left outside the PPF conversation?
For Tesla owners, the answer affects delivery documentation, service communication and long-term paint protection. For PPF shops, it affects installation quality, customer expectations and package design.
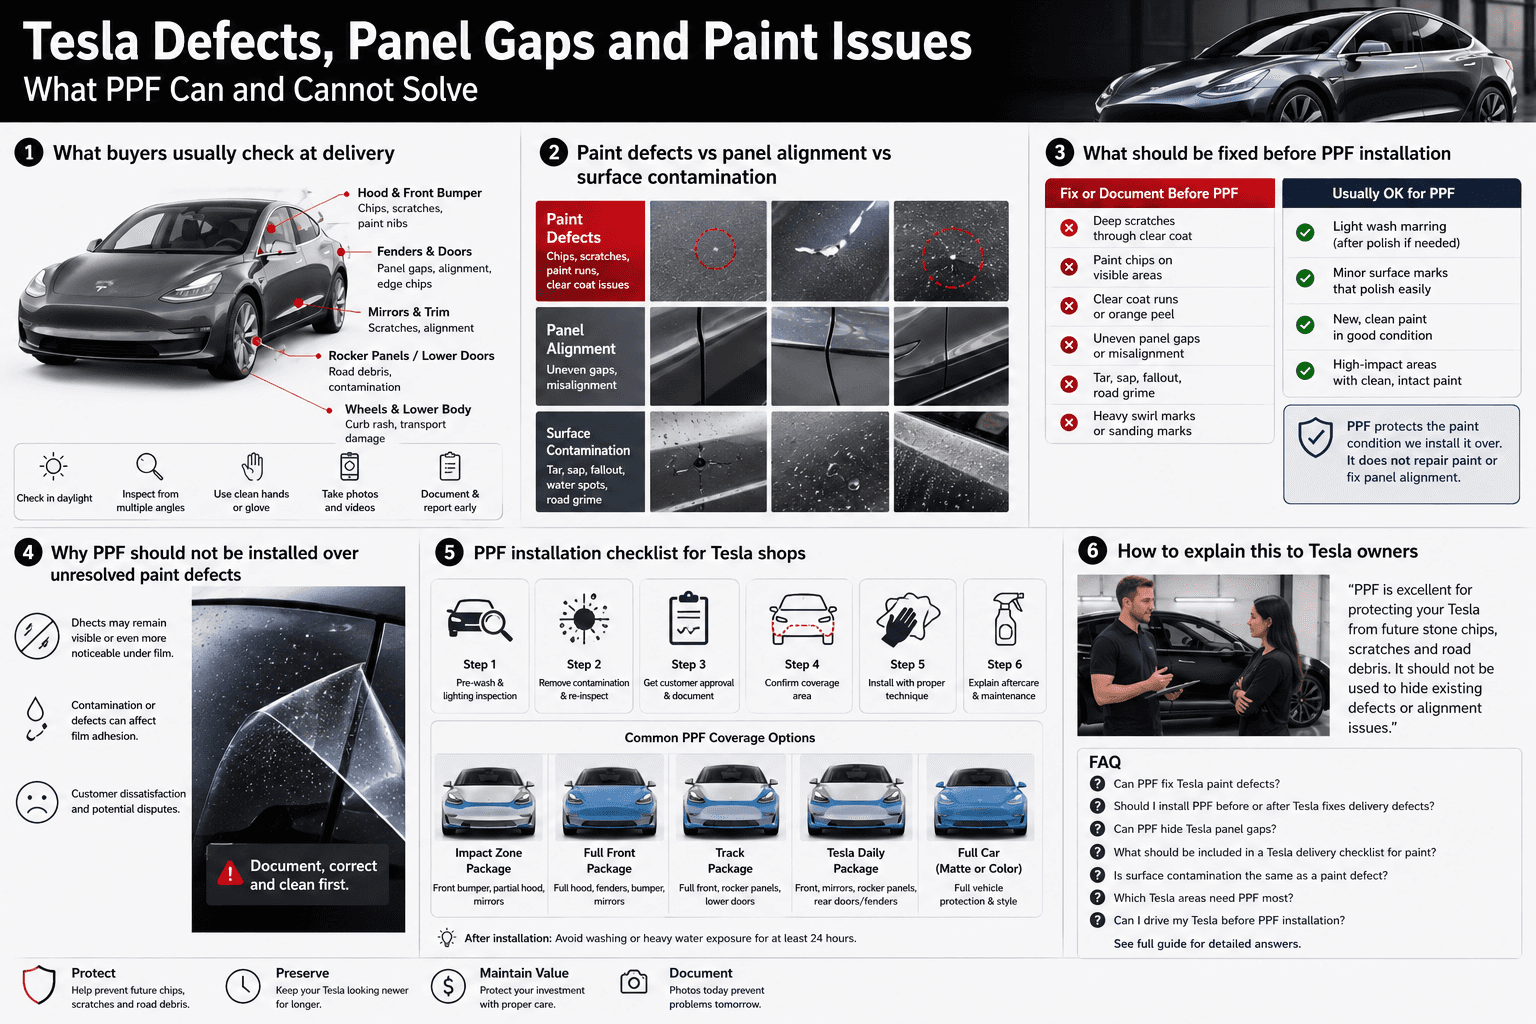
What buyers usually check at delivery
A Tesla delivery inspection should focus on visible, documentable items before the car is driven away or before a PPF shop begins work. The goal is not to find every microscopic mark. The goal is to separate real defects from normal surface conditions and decide what needs action.
Common delivery inspection areas include:
| Inspection area | What to look for | Why it matters before PPF |
|---|---|---|
| Front bumper and hood | Chips, scratches, paint nibs, transport marks | These are high-impact areas and common PPF zones |
| Doors and fenders | Uneven gaps, edge chips, clear coat marks | Film edges may highlight poor alignment or paint flaws |
| Rocker panels and lower doors | Road debris marks, salt exposure, contamination | These areas often benefit from PPF protection |
| Trunk, hatch and glass roof edges | Trim alignment, lifted seals, uneven gaps | PPF cannot correct trim or panel fitment |
| Wheels and lower body | Transport damage, curb rash, debris impact | Helps separate delivery issues from driving damage |
| Paint surface | Roughness, tar, industrial fallout, water spots | Contamination must be removed before film installation |
Tesla’s own cleaning guidance also emphasizes removing corrosive substances such as bird droppings, tree resin, tar spots, road salt and industrial fallout promptly to prevent paint damage [1]. This supports a key point for owners and shops: a clean-looking car is not always a properly prepared car.
Paint defects vs panel alignment vs surface contamination
Not every Tesla defect search refers to the same type of problem. A useful inspection checklist should divide issues into three categories.
Paint defects
A Tesla paint defect may include chips, scratches, clear coat runs, dust nibs, thin paint spots, fisheyes or sanding marks. Some are cosmetic. Some may need polishing. Some may require Tesla service or body shop correction.
PPF can protect paint, but it does not repair paint. If a chip, scratch, stain or paint texture problem is visible before film, it may remain visible under clear film. In some cases, the gloss of PPF can even make the underlying defect easier to notice.
Panel alignment and panel gaps
Tesla panel gaps refer to visible spacing differences between adjacent body panels, such as hood-to-fender, door-to-fender, trunk-to-quarter panel or bumper-to-fender alignment. Aftermarket delivery checklists often advise owners to inspect panel gaps in daylight and compare both sides of the vehicle for symmetry [2].
PPF cannot solve panel alignment. A film installer may be able to wrap or trim around an edge neatly, but film cannot move a door, realign a bumper or correct a trunk gap. These issues should be documented and handled separately before the customer expects a perfect visual result from PPF.
Surface contamination
Surface contamination includes tar, glue residue, rail dust, industrial fallout, water spots, tree sap, wax, oil, silicone residue and road grime. This is different from a paint defect because the paint itself may be fine after proper decontamination.
Tesla’s PPF installation instructions for Model Y start with cleaning the installation area with automotive soap and water, drying it with a clean microfiber towel, and making sure dirt and grease are removed [3]. That is a simple but important standard: film needs a clean bonding surface.
What should be fixed before PPF installation
Before installing PPF on a Tesla, owners and shops should agree on what must be corrected first.
Fix or document these before PPF:
| Issue | Install PPF now? | Recommended action |
|---|---|---|
| Deep scratch through clear coat | No | Repair or document first |
| Paint chip on hood or bumper | Usually no | Touch-up, repair or customer approval first |
| Clear coat run or paint texture issue | No | Ask Tesla service or body shop to inspect |
| Uneven panel gaps | No, if severe | Document and resolve alignment concern first |
| Tar, sap, fallout or road grime | No | Wash, decontaminate and inspect again |
| Light wash marring | Maybe | Polish if needed before film |
| Normal high-impact clean paint | Yes | Good candidate for PPF |
| New, clean lower door or rocker area | Yes | Strong candidate for targeted protection |
The reason is simple: PPF is a protection layer. It is not a body repair process, not a paint correction replacement and not a warranty claim substitute.
Tesla also sells model-specific PPF kits for rear doors and fenders, describing them as protection from snow, salt, sand, small debris, stone chips and driving conditions that accelerate wear [4]. That product positioning is useful because it defines what PPF is mainly for: preventing new wear, not hiding existing defects.
Why PPF should not be installed over unresolved paint defects
Installing PPF over unresolved paint defects creates three risks.
First, the owner may later believe the installer caused the visible defect. If the mark was already there, the shop needs photos, inspection notes and customer approval before installation.
Second, the defect may affect adhesion. Dirt, grease, wax, tar and other contamination can interfere with film bonding. Tesla’s DIY PPF guidance specifically starts with cleaning and removing dirt and grease before film is applied [3].
Third, the customer may be disappointed even if the installation is technically good. Clear PPF follows the surface below it. It can add gloss, depth and protection, but it cannot flatten a paint run, close a panel gap or remove a chip.
A good shop should explain this clearly:
“PPF protects the paint condition we install it over. If the paint already has chips, scratches, contamination or alignment issues, we should document and correct them first. After that, PPF can help reduce future stone chips, road debris marks and wear.”
PPF installation checklist for Tesla shops
A Tesla PPF checklist should be simple enough for sales staff to use and detailed enough to protect the installer.
Step 1: Pre-wash and lighting inspection
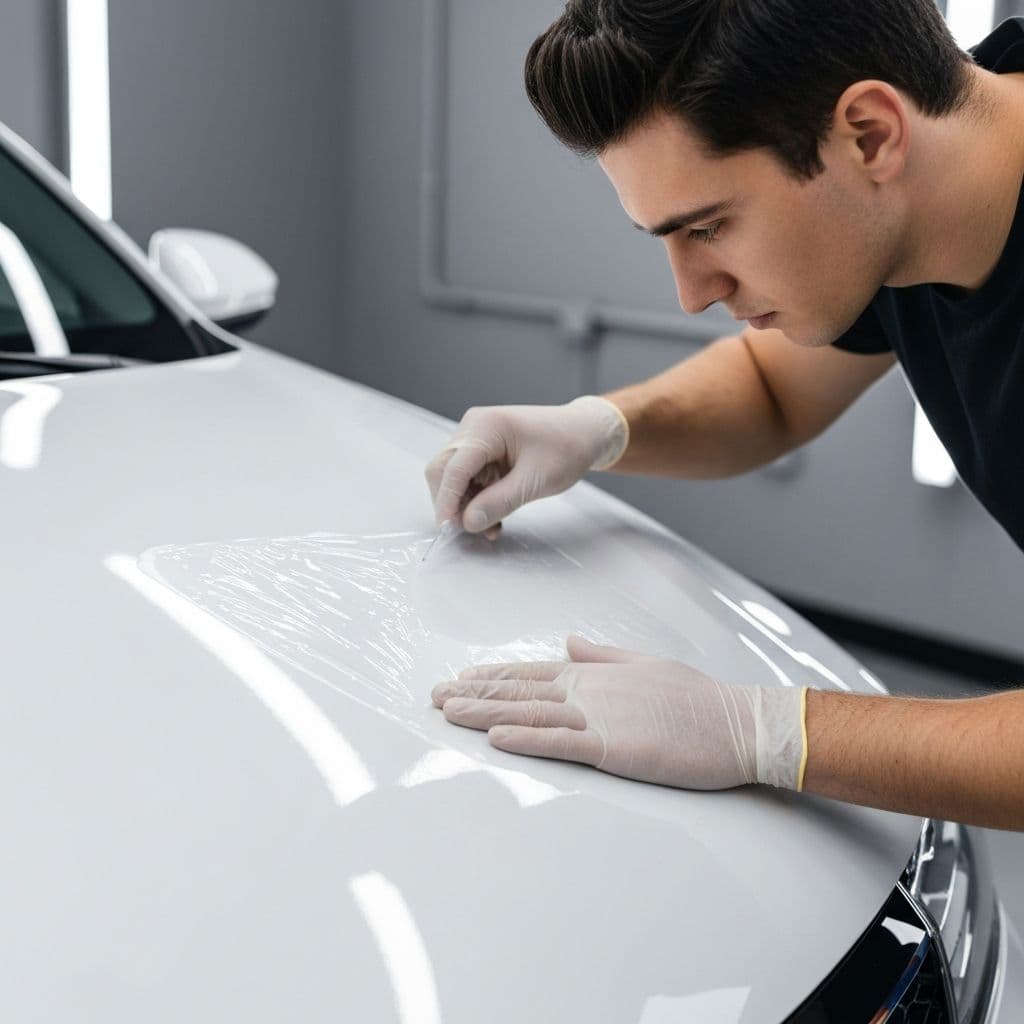
Inspect the car under daylight and shop lighting. Check the front bumper, hood, fenders, mirrors, rocker panels, lower doors, rear wheel arch area, trunk edge and door edges.
Take photos of any visible chips, scratches, stains, paint texture issues or panel gap concerns.
Step 2: Separate defects from contamination
Use touch, lighting and decontamination to decide whether a mark is on the surface or inside the paint. Surface contamination may be removable. A true paint defect may need correction or service documentation.
Tesla’s owner manual specifically names substances such as tar spots, road salt and industrial fallout as materials that should be removed to prevent paint damage [1]. For a shop, this supports a decontamination-first workflow before making a final judgment.
Step 3: Get customer approval before installing
If defects remain visible after cleaning, show the customer. Explain whether the issue is:
- safe to install over
- better to polish first
- better to repair first
- unrelated to PPF, such as panel alignment
This is where shops should protect themselves with photos and written notes.
Step 4: Confirm coverage area
Tesla owners often start with front-end protection, but the right package depends on driving conditions and budget. For example:
| Package type | Typical coverage | Best for |
|---|---|---|
| Impact zone package | Front bumper, partial hood, mirrors | Entry-level protection |
| Full front package | Full hood, full fenders, bumper, mirrors | Highway driving and daily use |
| Track or high-impact package | Full front plus rocker panels and lower doors | Frequent road debris exposure |
| Tesla daily package | Front bumper, hood, mirrors, rocker panels, rear door/fender impact zones | Practical Tesla owner protection |
| Matte or color package | Full panels or full vehicle | Appearance change plus protection |
Internal link target: Tesla PPF GuideInternal link target: PPF Packages for Shops
Step 5: Explain aftercare
After installation, the customer should avoid washing or heavy water exposure during the early curing period. Tesla’s Model 3 PPF installation guide advises installing the kit when it is dry and warm outside, and avoiding washing and rain for at least 24 hours after installation [5].
For professional shops, aftercare instructions should include when to wash, how to clean edges, what products to avoid and when to return for inspection.
How to explain this to Tesla owners
Many Tesla owners are not asking for technical film details at first. They are asking:
- Is this paint issue normal?
- Should Tesla fix this?
- Can PPF cover it?
- Should I install PPF before or after service?
- What areas are worth protecting?
A shop can answer in a neutral, helpful way:
“Before we install PPF, we inspect the Tesla paint, panels and high-impact areas. If we find paint defects, panel gaps or contamination, we separate them from PPF protection. PPF is excellent for reducing future stone chips and road debris damage, but it should not be used to hide unresolved paint or alignment issues.”
This approach builds trust because it does not oversell PPF. It positions the shop as a professional inspection and protection partner.
For Tesla owners who pass inspection, guide them to a practical package:
- If the paint is clean and new, start with front bumper, hood, fenders and mirrors.
- If the car sees snow, salt, gravel or rough roads, add rocker panels and rear door/fender impact zones.
- If the customer wants a satin look, discuss matte PPF.
- If the customer wants appearance change, discuss color PPF separately from paint defect correction.
FAQ
Can PPF fix Tesla paint defects?
No. PPF can protect paint from future stone chips, scratches and road debris, but it cannot repair existing paint defects. Chips, deep scratches, paint runs and clear coat defects should be corrected or documented before installation.
Should I install PPF before or after Tesla fixes delivery defects?
Install PPF after unresolved paint or panel issues are inspected and corrected. If Tesla service needs to adjust panels, polish paint or repair a defect, it is better to do that before film is installed.
Can PPF hide Tesla panel gaps?
No. PPF cannot correct Tesla panel gaps or panel alignment. Film follows the body surface and panel edges. Severe alignment issues should be documented separately before installation.
What should be included in a Tesla delivery checklist for paint?
A Tesla delivery checklist for paint should include the hood, front bumper, fenders, mirrors, rocker panels, lower doors, trunk edge, door edges, roof/glass trim areas and visible paint texture under daylight. The owner should also check for contamination such as tar, fallout, water spots and adhesive residue.
Is surface contamination the same as a paint defect?
No. Surface contamination sits on top of the paint and may be removable through washing, clay treatment or chemical decontamination. A paint defect is usually in the paint or clear coat itself.
Why do Tesla shops inspect paint before PPF?
Shops inspect paint before PPF to avoid trapping contamination, installing over visible defects or creating customer confusion later. A pre-install inspection protects both the owner and the installer.
Which Tesla areas need PPF most?
Common high-impact areas include the front bumper, hood, fenders, side mirrors, rocker panels, lower doors and rear door/fender impact zones. Tesla’s own Model Y PPF kit focuses on rear door/fender protection from snow, salt, sand and small debris [4].
Can I drive my Tesla before PPF installation?
Yes, but driving before PPF increases exposure to stone chips and road debris, especially on highways. Owners who plan to install PPF should schedule inspection and installation as early as possible after delivery.
References
[1] Cleaning - Tesla Model Y Owner’s Manual[2] The Tesla Delivery Day Inspection Your Salesperson Won't Run With You[3] Installing Paint Protection Film Kit - Tesla Model Y Do It Yourself[4] Model Y Paint Protection Film - Tesla Shop[5] Installing Paint Protection Film Kit - Tesla Model 3 Do It Yourself